You will want to factory reset your Galaxy Watch 4 if you are trading it in, giving it away, or having issues with the watch functioning correctly.
When you factory reset your Samsung Galaxy Watch 4 remember that all your data on the watch will be removed. Once completed it will be like taking it out of the box for the first time.
Make sure to backup and save any important data as it will no longer be available after the factor reset. We recommend you backup and save important data on a regular basis in case you are no longer able to access your watch’s settings.
How to Factory Reset a Galaxy Watch 4 on Your Phone
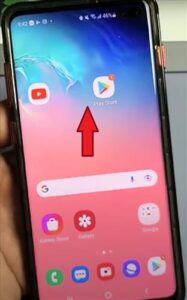
- Swipe Up on Your Home Screen
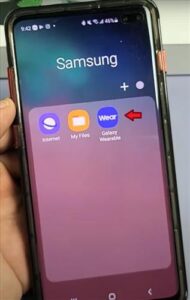
- Tap on the Galaxy Wearable App
- Tap on Watch Settings
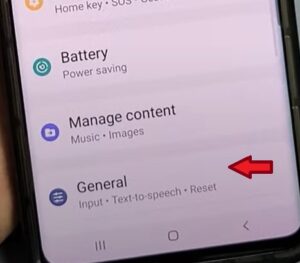
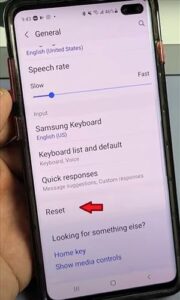
- Tap on General
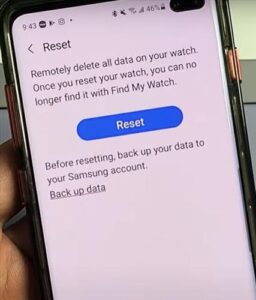
- Tap on Reset
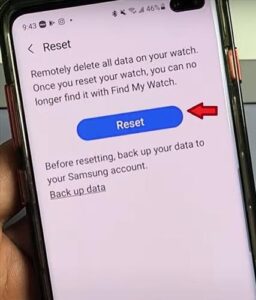
- Tap on Reset

Summary
Factory resetting your Samsung Galaxy Watch 4 can help fix issues that keep occurring. It may be a Bluetooth connection issue, not receiving notifications or calls. It could be freezing, not charging, or maybe displaying a black watch face. Check your watch for any noticeable damage such as water, cracked screen, or chips that may be causing your watch to not work.
A factory reset can also get rid of any recently installed apps that may have malware attached to it; causing your watch to not function as it normally should.
Always make sure you have the most recent updates installed on all your Galaxy Watch 4. This could also be what is causing your watch to not operate correctly.
If you are getting rid of the watch, make sure you complete the factory reset prior to doing so. This will prevent any personal data from being exposed to the new user.
If you found the above steps helpful please leave us a comment below letting us know.